This guide covers telemedicine app MVP patient onboarding best practices in plain language. It focuses on what matters for early users, what to measure, and how to reduce friction without overbuilding. Startups often waste time on rare edge features. Many startups miss simple trust signals and clear flows. This piece assumes you want a fast, compliant launch that proves product market fit. The advice blends UX, technical priorities, and operational requirements. It will help product managers prioritize screens, data collection, and integrations that actually move metrics. Expect some opinions and cautious warnings about privacy and compliance. Use this as a checklist during planning and sprint grooming. If you need a technical breakdown for your team I can provide one after you review these high level steps. If you want a related deep dive, read B2B Onboarding Software MVP Product Market Fit Steps That Actually Work.
Why onboarding matters for telehealth MVPs
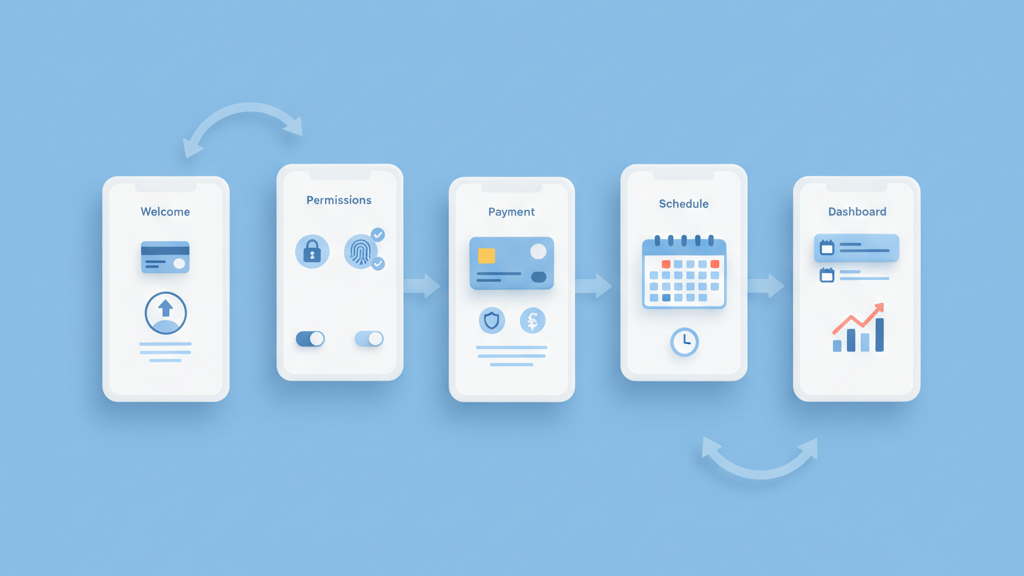
Onboarding sets expectations and controls first impressions. For a telehealth MVP you have a small window to earn trust and to get a user to complete a visit. Focus on clarity and essential data only. Ask for what you need for a single session and defer everything else. Make identity verification and consent obvious. Include gentle signals about privacy and who will see their data. Many founders underestimate the drop off that happens at permission and payment screens. Good onboarding reduces support load later and speeds up learning about real user behavior. Think of onboarding as a measurement funnel that feeds your product decisions. Build metrics around completion rates, time to first visit, and reasons for abandonment. These numbers tell you what to fix next and where to invest engineering effort. If you need implementation support, explore MVP development for startups.
- Track completion by step
- Limit required fields to essentials
- Show privacy and consent early
- Measure time to first live visit
- Use onboarding as an experiment
Define core patient pathways
Map the minimum set of patient journeys you must support to prove the idea. Typical pathways include new patient registration, returning patient check in, and urgent consults. Do not try to cover specialist referral or advanced billing in the first release. For each pathway decide the single most important success outcome. A success outcome could be a completed video visit or a scheduled appointment with a provider. Write simple acceptance criteria for engineers and designers. This keeps scope focused and prevents scope creep. It also helps clinical advisors validate the MVP. A clear pathway lets you test assumptions quickly and improves your odds of finding product market fit. Build the flow with toggles that let you add complexity later without major rework. For a practical follow-up, see Uncovering the Untold Tactics: Navigating MVP Iteration for Product-Market Fit.
- List 3 main patient journeys
- Define one success metric per journey
- Avoid advanced billing in MVP
- Get a clinician to validate flows
- Design for extensibility
Design for trust and compliance
Trust is not optional for medical apps. Even in an MVP you must be clear about who will access records and how data is protected. Use plain language consent and visible security indicators. Offer a simple explanation of compliance practices and where patient data lives. Also plan for minimal data retention in the early product so you can reduce risk. Put privacy choices within easy reach and do not hide them behind deep settings. Many startups overlook consent logs and audit trails until regulators knock on the door. Invest in basic encryption and secure storage. These are not flashy features but they are mission critical. A transparent approach to privacy improves adoption and lowers legal risk. Teams moving from strategy to execution can review FlutterFlow development.
- Show clear consent screens
- Explain where data is stored
- Keep a basic audit trail
- Use standard encryption practices
- Make privacy settings easy
Keep friction low during registration
Reduce friction by asking only what you need to start a visit. Use progressive disclosure to collect additional details after the first successful interaction. Offer social sign in or magic links to reduce password friction. Validate critical fields in real time and give friendly error messages. Avoid mandatory uploads unless necessary. If you need insurance details or ID verification consider a two step process that lets users book a visit first and finish verification later with nudges. Provide clear fallback options for users who hit verification issues. Practical warning, do not let verification block your ability to learn from early users. It is fine to run a smaller manual verification process initially to keep flow moving while you iterate.
- Ask only essentials up front
- Use magic links or social sign in
- Validate fields in real time
- Defer non critical verification
- Provide human fallback
Integrate clinical flows and provider handoffs
Patient onboarding must align with provider workflows. Capture clinical intake that providers need to triage a visit. Keep forms short and focused on presenting concerns, medications, and allergies. Use conditional questions to avoid overwhelming patients. Ensure data passes cleanly into the clinician view so handoffs are seamless. Test handoffs in closed pilots with a small provider group before wider rollout. Watch for information gaps that cause phone calls or delays. These gaps create overhead and lower clinician satisfaction. Build quick feedback loops with clinicians so you can iterate on intake forms. Remember that provider adoption is as important as patient completion when measuring success.
- Capture triage essentials only
- Use conditional intake fields
- Test handoffs with clinicians
- Monitor clinician satisfaction
- Iterate intake based on feedback
Measure, analyze, and iterate rapidly
Set up tracking for a small set of high impact metrics. Focus on onboarding completion rate, drop off per step, time to first appointment, and no show rates. Instrument events at each screen and key interactions so you can run fast experiments. Use A B tests sparingly and prefer sequential experiments in early stages. Qualitative feedback from early users and providers is often more actionable than vanity metrics. Log common support issues to find hidden usability problems. Many teams misinterpret low volume early data as noise. Be patient and look for consistent patterns before refactoring core flows. Iterate on both copy and micro interaction to reduce friction.
- Track completion and drop off
- Instrument key events
- Run small experiments
- Collect qualitative feedback
- Log support issues for patterns
Plan rollout and operational readiness
Operational readiness is part of onboarding success. Prepare support scripts for common user issues and train a small team to handle verification and scheduling exceptions. Build dashboards that show live onboarding health so product and ops can act quickly. Decide early how you will handle payments and refunds in the MVP, and document manual processes. Plan a gradual rollout to a limited region or partner clinic to limit exposure while you learn. Practical warning, do not assume your support needs will be low. Early releases often generate more operational work than expected. Plan for at least a temporary manual process that can scale while automation is built later. A related guide worth reviewing is Practical Product Steps For Founders: how to plan MVP features for startup founders.
- Train support on common flows
- Create live onboarding dashboards
- Document manual payment processes
- Roll out gradually to partners
- Expect operational load early